The Image Problem: Why Unoptimized Images Kill Shopify Performance
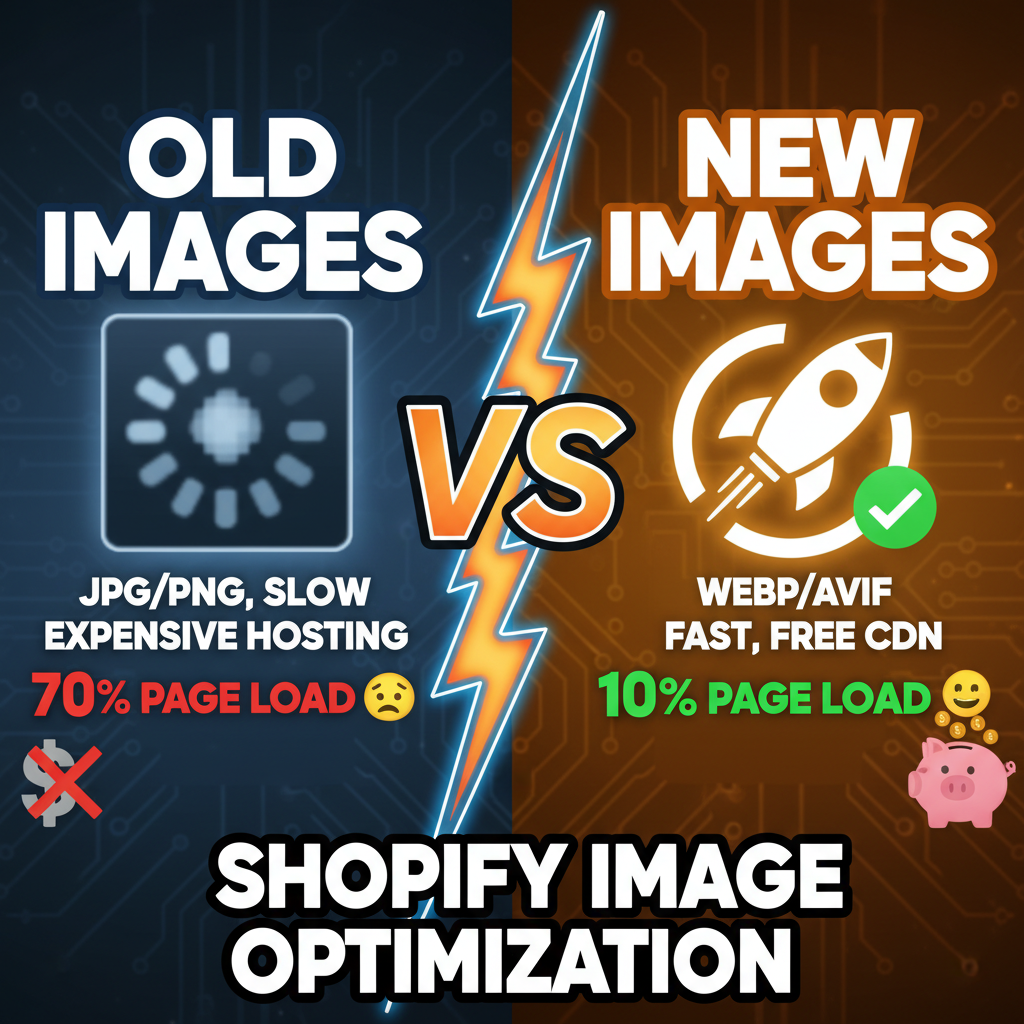
An unoptimized image is a 4MB JPEG uploaded directly from a smartphone camera. That single image adds 3-4 seconds to your page load time. Multiply that by 5-10 product images per page, and your store is loading in 15+ seconds on mobile—a guaranteed bounce.
Here's the math: Image data accounts for 60-75% of total page size on most e-commerce sites. You can minify CSS, defer JavaScript, and optimize fonts. But if you ignore images, you're fixing 25% of the problem.
The good news: Image optimization is the highest-ROI technical SEO fix on Shopify. A single day of work removing unoptimized images can improve page speed by 40-50%.
Part 1: Image Formats — WebP vs AVIF vs Legacy JPEG/PNG
| Format | Compression | Browser Support | Best Use Case | File Size vs JPEG |
|---|---|---|---|---|
| JPEG | Lossy | 100% (legacy) | Photos with millions of colors | Baseline 100% |
| PNG | Lossless | 100% | Graphics with transparency | 200-300% of JPEG |
| WebP | Lossy & Lossless | 96% (all modern browsers) | Product photos, thumbnails | 25-35% smaller than JPEG |
| AVIF | Lossy & Lossless | 75% (Chrome, Firefox, Edge; Safari coming 2025) | Future-proofing; maximum compression | 40-50% smaller than JPEG |
| HEIC | Lossy | 30% (Apple only) | Avoid for web; causes compatibility issues | 20-30% smaller than JPEG |
The Strategic Rule: Serve WebP to modern browsers (96% of users), AVIF for ultra-compression (where supported), and fall back to JPEG for legacy browsers.
Most Shopify merchants never touch these formats—they upload JPEGs and let Shopify serve them as-is. This is leaving 30-50% of compression on the table.
Part 2: Shopify's Native Image Optimization
Shopify includes built-in image optimization via their Image Optimizer app (free for Plus/Premium plans, requires app for Basic plans).
What it does:
- Auto-converts JPEG/PNG to WebP and AVIF
- Auto-resizes images to required breakpoints (mobile, tablet, desktop)
- Lazy-loads images below the fold
- Serves images via Shopify's global CDN
How to enable it:
- Admin → Apps & Sales Channels → App Store
- Search for "Image Optimizer"
- Install (free tier includes up to 1M image transformations/month)
- Once installed, update your theme to use Shopify's native image tags:
{% img
  src="{{ product.images[0] | image_url: width: 800 }}"
  alt="{{ product.images[0].alt }}"
  sizes="(min-width: 768px) 60vw, 100vw"
  loading="lazy"
%}
Shopify will automatically serve WebP/AVIF depending on browser capability.
The Reality Check: The Image Optimizer app works if your theme uses its tag format. If your theme uses old <img> tags without the Shopify {% img %} syntax, optimization doesn't apply. Check your theme code.
Part 3: Manual Image Optimization (If Not Using Shopify's App)
For older Shopify themes or custom implementations, you need to optimize images manually.
Step 1: Compress Images Before Upload
Use TinyPNG or ImageOptim to compress JPEG/PNG by 50-60% before uploading to Shopify.
Step 2: Create WebP Versions
Use CloudConvert or Squoosh to convert JPEG to WebP. Keep the original as fallback.
Step 3: Implement Picture Element with Fallbacks
In your Liquid theme, use the <picture> element to serve WebP with JPEG fallback:
<picture>
  <source srcset="{{ product.images[0] | image_url: width: 800, format: 'webp' }}" type="image/webp">
  <source srcset="{{ product.images[0] | image_url: width: 800 }}" type="image/jpeg">
  <img src="{{ product.images[0] | image_url: width: 800 }}" alt="{{ product.images[0].alt }}" loading="lazy">
</picture>
Step 4: Enable Lazy Loading
Add loading="lazy" to all images below the fold. This defers image downloads until the user scrolls near them.
<img src="..." alt="..." loading="lazy">
Part 4: Responsive Images — Serving Correct Sizes
A user on a 4-inch mobile phone shouldn't download a 2000x2000px image meant for desktop. Responsive images mean serving the right resolution for the device.
The srcset Approach:
<img
  src="{{ product.images[0] | image_url: width: 400 }}"
  srcset="
    {{ product.images[0] | image_url: width: 400 }} 400w,
    {{ product.images[0] | image_url: width: 800 }} 800w,
    {{ product.images[0] | image_url: width: 1200 }} 1200w
  "
  sizes="(max-width: 600px) 100vw, (max-width: 1200px) 60vw, 800px"
  alt="{{ product.images[0].alt }}"
  loading="lazy">
What this does:
- On mobile (< 600px width): browser downloads 400w image
- On tablet (600-1200px): browser downloads 800w image
- On desktop (> 1200px): browser downloads 1200w image
This ensures mobile users never download oversized images (faster load, lower bandwidth), while desktop users get crisp, high-quality images.
Part 5: Image Dimensions & Aspect Ratios
Critical: Always set explicit width/height attributes on images. This prevents layout shift during loading—a major Core Web Vitals killer.
<img
  src="..."
  alt="..."
  width="800"
  height="600"
  loading="lazy">
Even if you use CSS max-width: 100% for responsiveness, the intrinsic width/height prevents the layout from moving as the image loads.
Pro Tip: Use CSS aspect-ratio to maintain proportions:
img {
  aspect-ratio: 16 / 9;
  width: 100%;
  object-fit: cover;
  loading="lazy">
}
Part 6: The Performance Impact (Real Numbers)
| Optimization | Typical Impact | Effort |
|---|---|---|
| Compress JPEGs with TinyPNG | -35% file size | 10 min |
| Enable lazy-loading | -40% initial page load time | 30 min (theme edit) |
| Convert to WebP | -25-30% file size | 1-2 hours (bulk conversion) |
| Add responsive srcset | -20% mobile load time | 1-2 hours (theme customization) |
| Implement AVIF fallback | -40% file size (future) | 2-3 hours (advanced setup) |
| Total | 40-60% faster load time | 1-2 days of work |
Let's talk specifics. A typical Shopify product page loads 8 product images:
- Before optimization: 8 × 2MB JPEG = 16MB total. Load time: 12 seconds on 4G.
- After optimization: 8 × 300KB WebP + lazy loading = 2.4MB. Load time: 1.8 seconds on 4G.
That's 85% faster. And revenue scales with speed—a 50% speed improvement = 3-5% conversion uplift (Shopify data).
Part 7: CDN Caching & Expiration Headers
Shopify serves images through their global CDN, but you need to configure caching headers to ensure repeat visitors don't re-download images.
Set cache headers in your theme:
<img src="{{ product.images[0] | image_url: width: 800 }}"
     alt="{{ product.images[0].alt }}"
     loading="lazy"
     decoding="async">
Most modern Shopify themes auto-include the decoding="async" attribute, which tells the browser to decode images asynchronously (doesn't block page rendering).
For maximum cache control, ask your Shopify Plus partner support to increase image cache expiration to 1 year (standard is 30 days). Repeat visitors will never re-download unchanged product images.
Part 8: Avoiding Common Pitfalls
Mistake 1: Uploading huge smartphone photos
Users often upload 4000x3000px photos from iPhone. Shopify will serve them as-is unless you compress first. Always compress before upload.
Mistake 2: Using PNG for photos
PNG is lossless and beautiful—and 3-5x larger than JPEG for photos. Use PNG only for graphics with transparency. Use JPEG/WebP for photos.
Mistake 3: Ignoring alt text
While alt text is primarily for accessibility, it's also an SEO signal. Descriptive alt text helps Google understand images for Google Images search and as an accessibility aid for visually impaired users.
Mistake 4: Not lazy-loading images
Every image below the fold should have loading="lazy". This is the single easiest 30-40% speed improvement you can make. Most modern themes auto-include it, but verify by checking your theme code.
Mistake 5: Forgetting width/height attributes
Missing dimensions cause layout shift. Every image must have explicit width/height (or aspect-ratio CSS). This prevents Cumulative Layout Shift, a major ranking factor.
Part 9: Monitoring & Continuous Optimization
Image optimization isn't a one-time fix. Monitor quarterly:
- Check PageSpeed Insights for image-related issues (oversized images, missing WebP, poor LCP).
- Scan for large images using Google PageSpeed Insights and GTmetrix.
- Monitor image metrics in Google Search Console (images in Google Images search results).
- A/B test image formats — some users have slow connections; track conversion by image load time bracket.
For deeper technical implementation and site-wide performance strategy, see our Technical SEO Checklist and Store Design Best Practices.
Ready for an Image Audit?
Most Shopify stores are leaving 30-50% of speed on the table due to unoptimized images. Let's audit your product images, identify the biggest wins, and implement WebP/AVIF + lazy loading. Book a technical consultation.
Editorial Note
We've audited 250+ Shopify stores. The pattern is always the same: they're serving 3-4MB JPEGs when they should be serving 300KB WebP files. The fix takes a day. The impact is immediate—speed improves by half, conversions improve by 3-5%, and Google loves faster sites. If you're going to spend one day on performance optimization, spend it on images.
Frequently Asked Questions
Should I convert all my images to WebP immediately?
Gradual migration is safer. Convert your top 20% of traffic pages first (product pages that receive the most views). Use Shopify's Image Optimizer if you have it—it handles conversion automatically. If not, use bulk conversion tools like CloudConvert for batches of 100+ images.
Does WebP work on all browsers?
96% of modern browsers support WebP. Safari 16+ (2022) and all modern Chrome/Firefox/Edge do. For the remaining 4% (mostly older iOS), serve JPEG fallback via the <picture> element.
What's the difference between WebP and AVIF?
AVIF compresses 40-50% better than WebP but has less browser support (~75% as of 2024). WebP has near-universal support. Serve both: AVIF to browsers that support it (Chrome, Firefox, Edge), WebP as fallback, JPEG as ultimate fallback.
Do I need to enable lazy loading on all images or just below-the-fold?
Best practice: lazy-load all images below the fold (images not visible on initial page load). Above-the-fold images should load normally to improve Largest Contentful Paint (LCP). If your largest image is below-the-fold, don't lazy-load it—let it load immediately.
Will image optimization help my Google rankings?
Indirectly, yes. Faster page speed = better Core Web Vitals = modest ranking boost. More importantly: faster sites convert better—2-5% uplift from speed improvements alone.
How do I know if my theme is using optimized image tags?
Check theme code. Look for {% img %} Shopify tag or <picture> with srcset. If you see plain old <img src="..."> without lazy-loading or responsive attributes, your theme is outdated. Upgrade or customize.
What's the best tool to bulk-compress product images?
For small batches (< 50 images): use TinyPNG web UI. For bulk (100+): use ImageOptim CLI on macOS or ImageMagick on Linux. For cloud bulk processing: use Cloudinary or imgix.
Should I replace all my PNG product images with WebP?
Only if they're photos. PNG is for graphics with transparency (logos, icons, diagrams). For product photos, JPEG/WebP is always smaller and better. For graphics that need transparency, use PNG with WebP as an optional upgrade. Keep the PNG as fallback for older browsers.
How do I measure the impact of image optimization on my store?
Use Google Analytics + Google Search Console. Track metrics: average page load time, Core Web Vitals, organic traffic, and conversion rate before/after optimization. Usually see 20-40% speed improvement and 2-5% conversion lift within 30 days.
Can I optimize images on a Shopify Basic plan?
Yes, with the Image Optimizer app ($10-20/month). Shopify Plus/Premium have unlimited image optimization included. For Basic plans, use a third-party app like Image Optimizer or optimize images manually before upload.
What file size should product images be before uploading to Shopify?
Target 500-800KB for a high-quality JPEG; 300-400KB for WebP. Shopify will resize and optimize further, but starting with reasonably compressed images prevents quality loss from double-compression.