The Performance Regression Problem
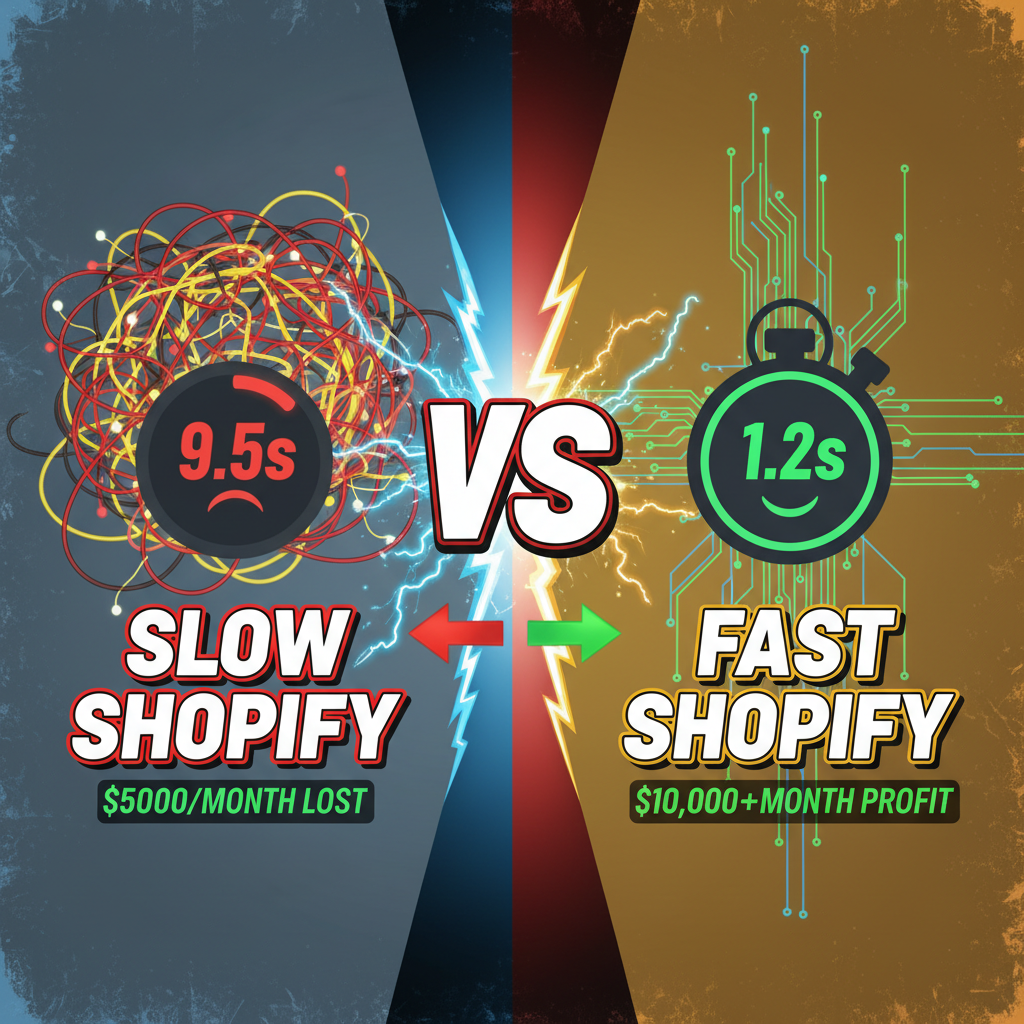
A Shopify store runs 15 deployments a week. One deployment adds a new JavaScript bundle. Core Web Vitals degrade 15%. Customers don't notice immediately—the store is "a bit slower."
Two weeks later, conversion drops 3.2%. Traffic analysis reveals it correlates with the deployment. By then, the damage is done—you've lost revenue, and debugging "which commit broke performance" is a 40-hour investigation.
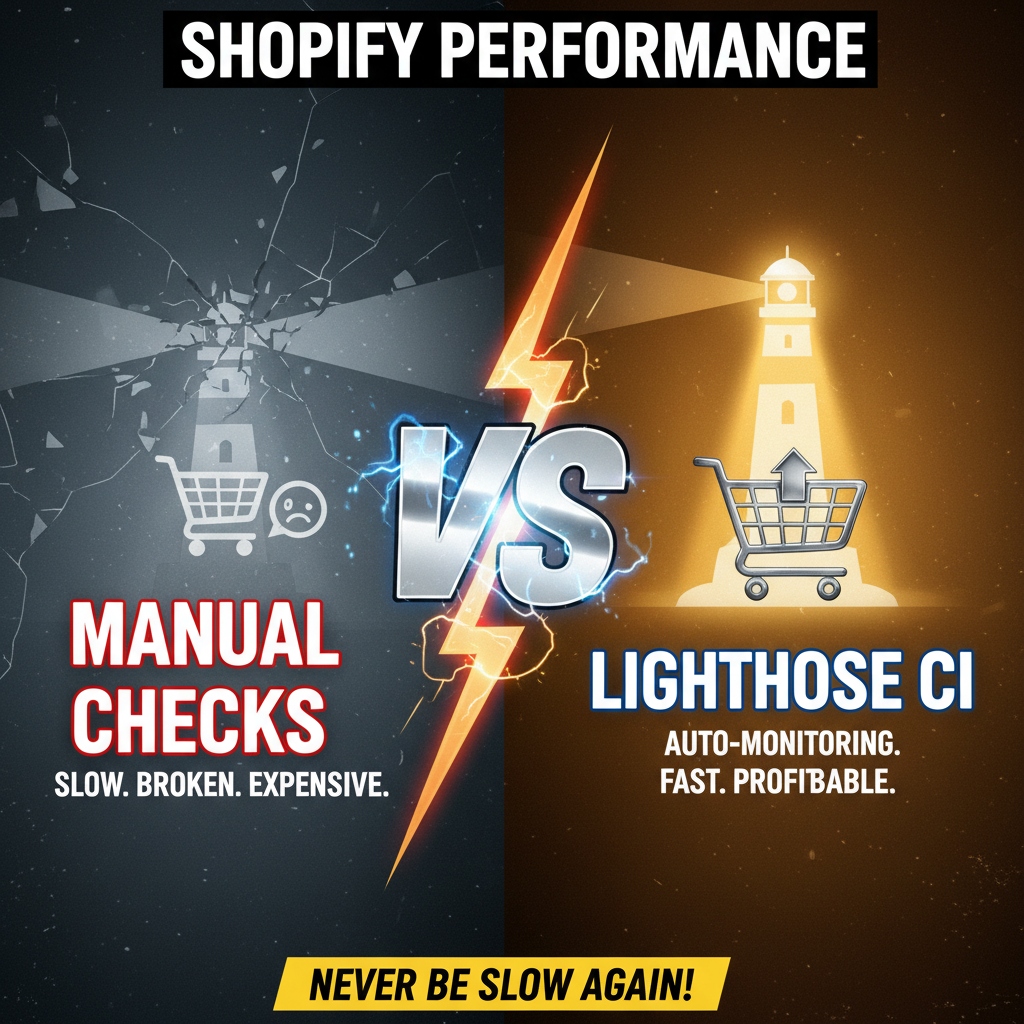
This is the core problem Lighthouse CI solves: automated performance regression detection on every commit.
Instead of discovering performance issues in production, Lighthouse CI fails the build and alerts developers before the slow code ships. A 2-second load time becomes a 3-second load time? The CI pipeline blocks the deployment and flags the regression.
Why Shopify Merchants Need Lighthouse CI
Shopify performance is nuanced. The platform handles HTTP delivery beautifully, but developers often add:
- Heavy JavaScript bundles (product filters, recommendations, bundles)
- Third-party scripts (analytics, heat mapping, chat widgets)
- Inefficient Liquid rendering (N+1 queries, large asset payloads)
- Unoptimized images (product photos, hero sections)
Each addition is "small" individually, but they compound. A store that started at 90 Lighthouse score slowly degrades to 72. No single commit was obviously bad—each seemed justified ("we need this feature").
Lighthouse CI forces the decision at the moment of commit: "Is this feature worth the performance cost?"
What Lighthouse CI Actually Does
Lighthouse CI is Google's open-source CI/CD tool that runs Lighthouse audits and enforces performance budgets.
Core Functions:
| Function | What It Does | Example |
|---|---|---|
| Audit on CI | Runs Lighthouse on each commit; generates performance score | Every PR triggers a Lighthouse test |
| Performance Budget | Fails build if metrics fall below threshold | LCP > 2.5s? Build fails |
| Regression Detection | Compares metrics against baseline; alerts on degradation | If FCP increases by 200ms, CI alerts |
| Historical Tracking | Stores metrics over time; shows trends | Dashboard shows performance decline over 3 months |
| Accessible Reports | Generates HTML reports per commit | DevOps team sees audit results in Slack |
Metrics Tracked:
- First Contentful Paint (FCP): 0–1.8s (good)
- Largest Contentful Paint (LCP): 0–2.5s (good)
- Cumulative Layout Shift (CLS): 0–0.1 (good)
- Speed Index
- Total Blocking Time (TBT)
- SEO score, accessibility score, best practices
Setting Up Lighthouse CI for Shopify
Prerequisites:
- Shopify Plus store (custom CI/CD setup; standard Shopify is limited)
- Custom storefront (Hydrogen recommended, but any tech works)
- GitHub/GitLab + CI/CD pipeline (GitHub Actions, GitLab CI)
Note: If you're on standard Shopify without custom code, Lighthouse CI requires a different approach (automated testing services like SpeedCurve or WebPageTest). This guide assumes custom development.
Step 1: Install Lighthouse CI
npm install -g @lhci/cli@^0.9.x
Step 2: Configure .lighthouserc.json
{
  "ci": {
    "collect": {
      "numberOfRuns": 3,
      "url": [
        "https://yourstore.com",
        "https://yourstore.com/products/example-product",
        "https://yourstore.com/cart"
      ],
      "settings": {
        "chromeFlags": ["--no-sandbox"]
      }
    },
    "assert": {
      "preset": "lighthouse:recommended",
      "assertions": {
        "first-contentful-paint": ["error", { "maxNumericValue": 1800 }],
        "largest-contentful-paint": ["error", { "maxNumericValue": 2500 }],
        "cumulative-layout-shift": ["error", { "maxNumericValue": 0.1 }],
        "speed-index": ["error", { "maxNumericValue": 3000 }]
      }
    },
    "upload": {
      "target": "temporary-public-storage"
    }
  }
}
What This Does:
- Runs 3 audits (for consistency)
- Tests 3 critical URLs (homepage, product page, cart)
- Fails build if FCP > 1.8s, LCP > 2.5s, CLS > 0.1, Speed Index > 3s
Step 3: Add to GitHub Actions Workflow
name: Lighthouse CI

on: [push, pull_request]

jobs:
  lighthouse:
    runs-on: ubuntu-latest
    steps:
      - uses: actions/checkout@v3
      - uses: actions/setup-node@v3
        with:
          node-version: '18'
      - run: npm install
      - run: npm run build  # Build your Hydrogen/custom storefront
      - run: npx lhci autorun
      - uses: actions/upload-artifact@v3
        if: failure()
        with:
          name: lighthouse-results
          path: .lighthouserc-results/
Step 4: Review Results
Lighthouse CI outputs an HTML report. For a failed build:
✖ First Contentful Paint: 2100ms, expected ≤ 1800ms
  Δ +300ms (11% regression from baseline)
✖ Largest Contentful Paint: 2900ms, expected ≤ 2500ms
  Δ +400ms (16% regression)
The report shows:
- What regressed (FCP, LCP, etc.)
- By how much
- Compared to your baseline
Real Example: Catching a Performance Bug
A Shopify Plus store added a recommendation widget (3rd-party JavaScript).
Baseline Metrics:
- FCP: 1.2s
- LCP: 1.8s
- TBT: 45ms
After Adding Widget:
- FCP: 1.4s (+17%)
- LCP: 2.3s (+28%)
- TBT: 120ms (+167%)
Lighthouse CI flagged the TBT regression (>100ms threshold). The developer investigated:
- Root cause: The widget was parsing a 200KB JSON file on main thread
- Fix: Web Worker moved parsing off main thread
- Result: TBT dropped to 55ms; LCP back to 1.9s
Without Lighthouse CI: This regression would ship to production. 30 days later, they'd discover a 2.1% conversion drop and spend 40 hours debugging.
With Lighthouse CI: The PR failed to merge. Fix happened in 3 hours. Production never saw the regression.
Performance Budgets: Setting Thresholds That Make Sense
The hardest part of Lighthouse CI is setting realistic budgets. Too tight, and you block every feature. Too loose, and degradation is uncontrolled.
Framework for Setting Budgets:
| Metric | Ecommerce Baseline | Target | Upper Bound |
|---|---|---|---|
| FCP | 1.2–1.8s | 1.5s | 2.0s (fail) |
| LCP | 1.8–2.5s | 2.0s | 3.0s (fail) |
| CLS | 0.05–0.1 | 0.08 | 0.15 (fail) |
| TBT | 50–150ms | 100ms | 200ms (fail) |
| Speed Index | 2.0–3.5s | 2.5s | 4.0s (fail) |
Recommendation: Start at your current metrics (baseline), then tighten by 10% each quarter.
If your current LCP is 2.8s, set the threshold at 2.8s this quarter. Next quarter, 2.5s. This forces incremental improvement without blocking development.
Common Pitfalls (and Fixes)
Pitfall 1: Unstable Metrics
Lighthouse CI runs tests in a CI environment with variable network/CPU. One run: 1.8s. Next run: 2.2s. Both are valid, but the threshold alerts on "regression."
Fix: Increase numberOfRuns to 5, average results, use median instead of max.
Pitfall 2: Testing Only Homepage
Homepage is fast because it's static. Product pages are slow because they have dynamic data + images.
Fix: Test 3–5 URLs representing your product mix (simple product, complex product, collection, cart).
Pitfall 3: Not Accounting for Third-Party Scripts
Analytics, heat mapping, live chat all add weight. You block a PR because LCP regressed 200ms, but the regression was a tracking pixel.
Fix: Use ignorePatterns to exclude third-party domains from budgets. Or negotiate third-party load times separately.
Pitfall 4: No Baseline Version
You set a threshold (FCP < 2s) without knowing your current baseline. If your current FCP is 3.2s, the threshold is impossible.
Fix: Measure current performance first. Take a Lighthouse audit today, use it as your baseline. Then set thresholds 10% better.
Integration with CI/CD Pipeline
Lighthouse CI integrates into your existing pipeline:
Developer pushes code
↓
GitHub Actions triggered
↓
Build project
↓
Run Lighthouse CI
↓
Compare to baseline
↓
If regression: fail build, alert developer
   → Developer must either fix performance or explicitly approve degradation
↓
If pass: merge allowed
↓
Deploy to production
The key: developers decide explicitly whether performance trade-offs are worth it. They can't accidentally ship slow code.
Tenten's Performance Monitoring Approach
For merchants running custom Shopify storefront, we implement Lighthouse CI as part of development infrastructure:
- Baseline Audit (Week 1): Run Lighthouse on current store, establish baseline metrics
- Budget Setting (Week 2): Define performance thresholds based on business goals (e.g., "LCP < 2.5s for 90% of page loads")
- CI/CD Integration (Week 3): Set up Lighthouse CI in GitHub Actions, configure alerts
- Developer Training (Week 4): Teach team how to interpret reports, when to push back, how to optimize
- Monitoring (Ongoing): Dashboard shows performance trends, alerts on regressions
Results: Stores typically see 8–15% improvement in Core Web Vitals within 3 months, driven by intentional design decisions (not random luck).
Ready to Implement Automated Performance Testing?
Performance regressions cost money—every 100ms of LCP adds 1% to bounce rate. Lighthouse CI is the simplest way to guarantee performance budgets are respected.
If you're running a custom Shopify storefront and want to set up Lighthouse CI in your CI/CD pipeline, or need to audit your current performance and establish budgets, we can help you build the infrastructure. Let's talk about performance automation.
Editorial Note
Lighthouse CI isn't just a testing tool; it's a cultural shift. Instead of "performance optimization happens when we have time," it becomes "performance requirements are part of the definition of done." Developers ship faster when they have clear guardrails.
Frequently Asked Questions
How often should I run Lighthouse CI?
On every commit. This ensures every code change is tested for performance regression before merging.
What's the difference between Lighthouse CI and regular Lighthouse audits?
Regular Lighthouse is manual (you run it once). Lighthouse CI runs automatically on every commit, tracks trends, and fails builds if thresholds are breached.
How do I account for third-party scripts in performance budgets?
Use ignorePatterns in .lighthouserc.json to exclude third-party domains. Or measure third-party impact separately and adjust budgets accordingly.
Can I use Lighthouse CI on standard Shopify (non-custom)?
Lighthouse CI requires CI/CD access. Standard Shopify doesn't expose that. Use third-party services (SpeedCurve, WebPageTest) instead.
What Core Web Vitals thresholds should I use for ecommerce?
FCP < 1.8s, LCP < 2.5s, CLS < 0.1. These targets correlate with good conversion rates in ecommerce.
How do I fix performance regressions flagged by Lighthouse CI?
Use Chrome DevTools Performance tab to identify bottlenecks. Common fixes: lazy-load images, defer JavaScript, split code, optimize fonts, remove unused libraries.